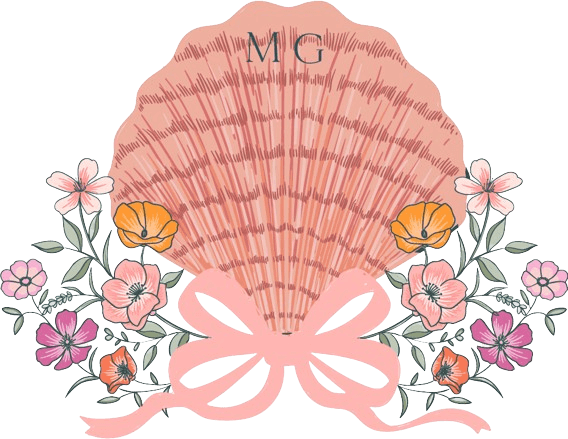
From the beginning, I knew I wanted something very personalized, with either a monogram or motif that represented Arthur and I in some special way. So I started browsing through all the options Basic Invite had for personal monograms to find something that felt right. I loved a lot of them, specifically the floral heart design because of the beautiful blue and white summer inspired design and also the perfectly titled royal monogram which featured an elegant wedding crest. Browsing through all the options for wedding invitation monograms gave me the idea to utilize a monogram for not just the invitation but also for the save the date, and perhaps many other future paper to come! I also really loved one specific photo from our engagement shoot that just inspired all kinds of summer romance vibes. So I started to look through all the save the date options that work with photo uploads and found lots of great postcard style save the dates.
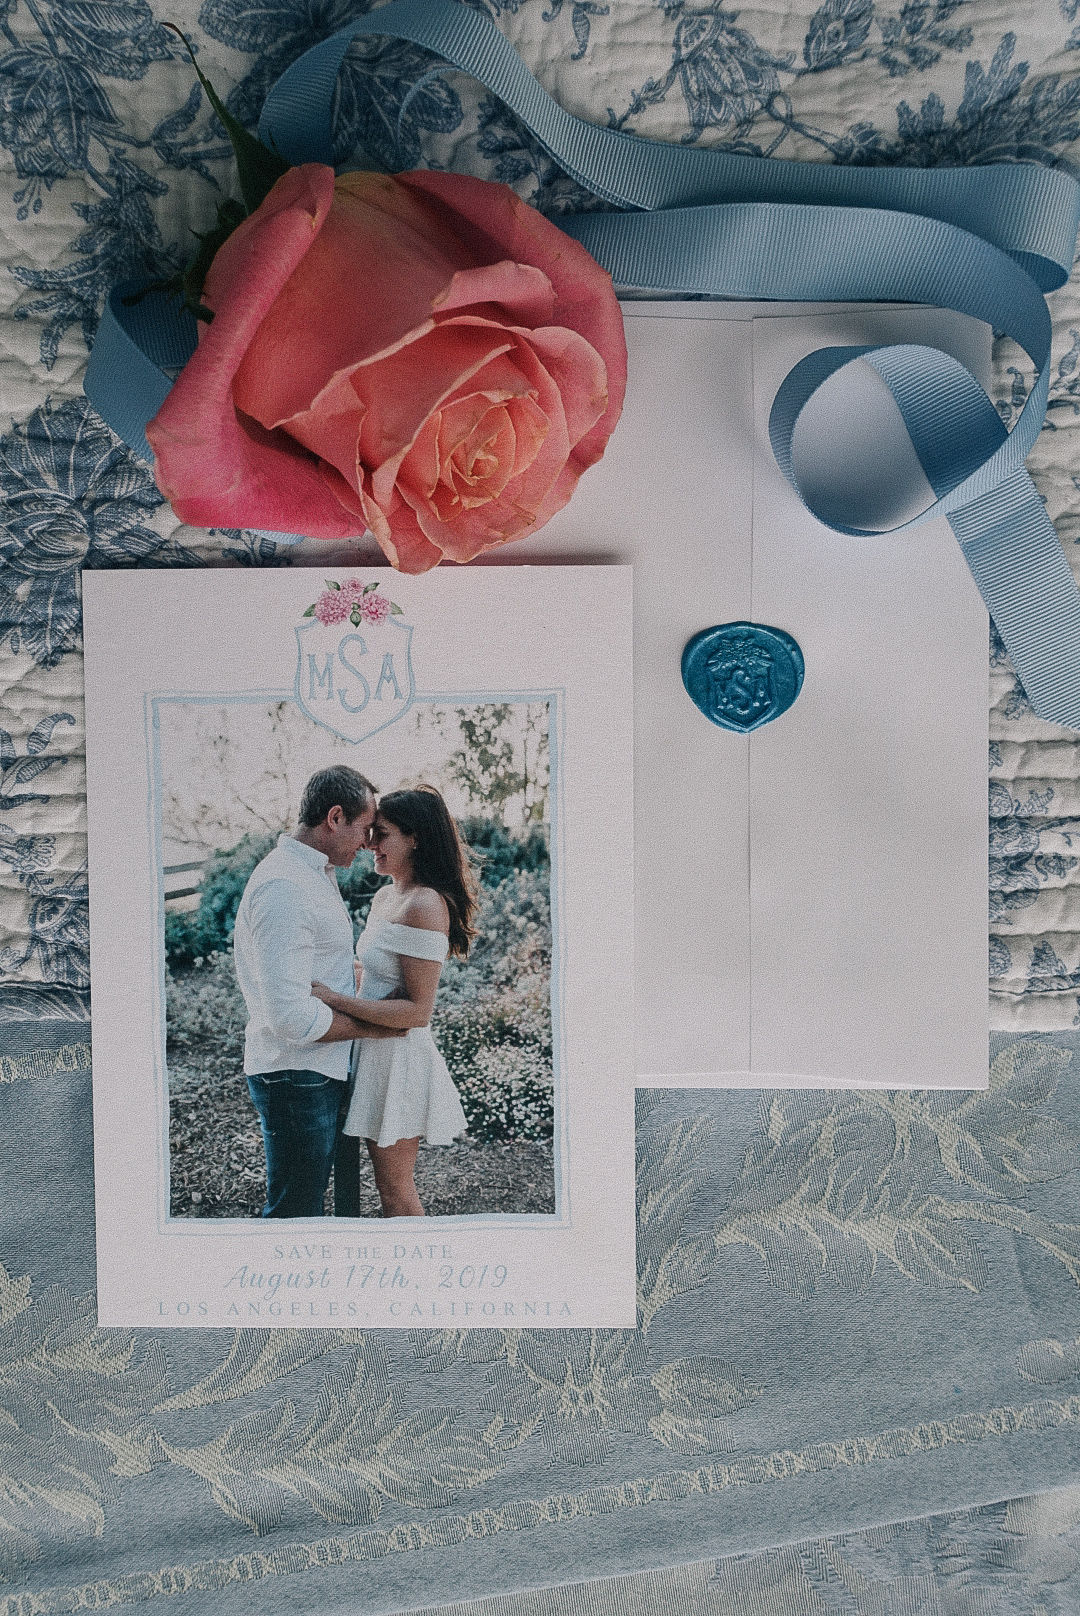
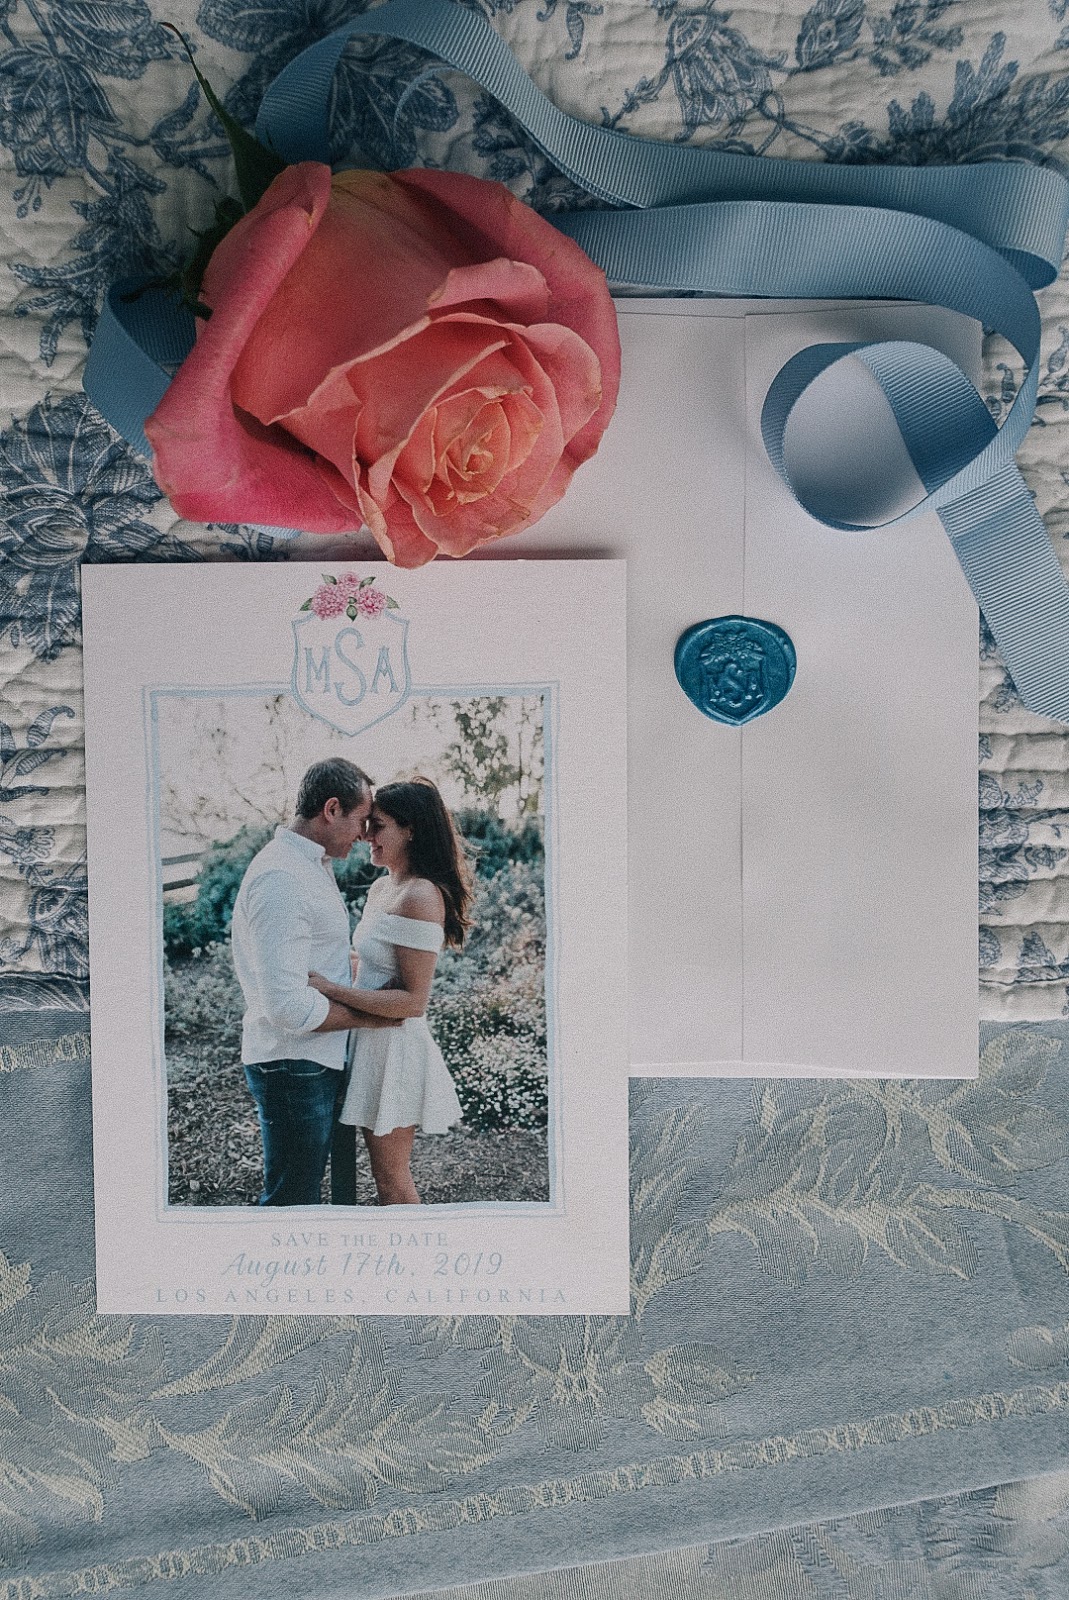
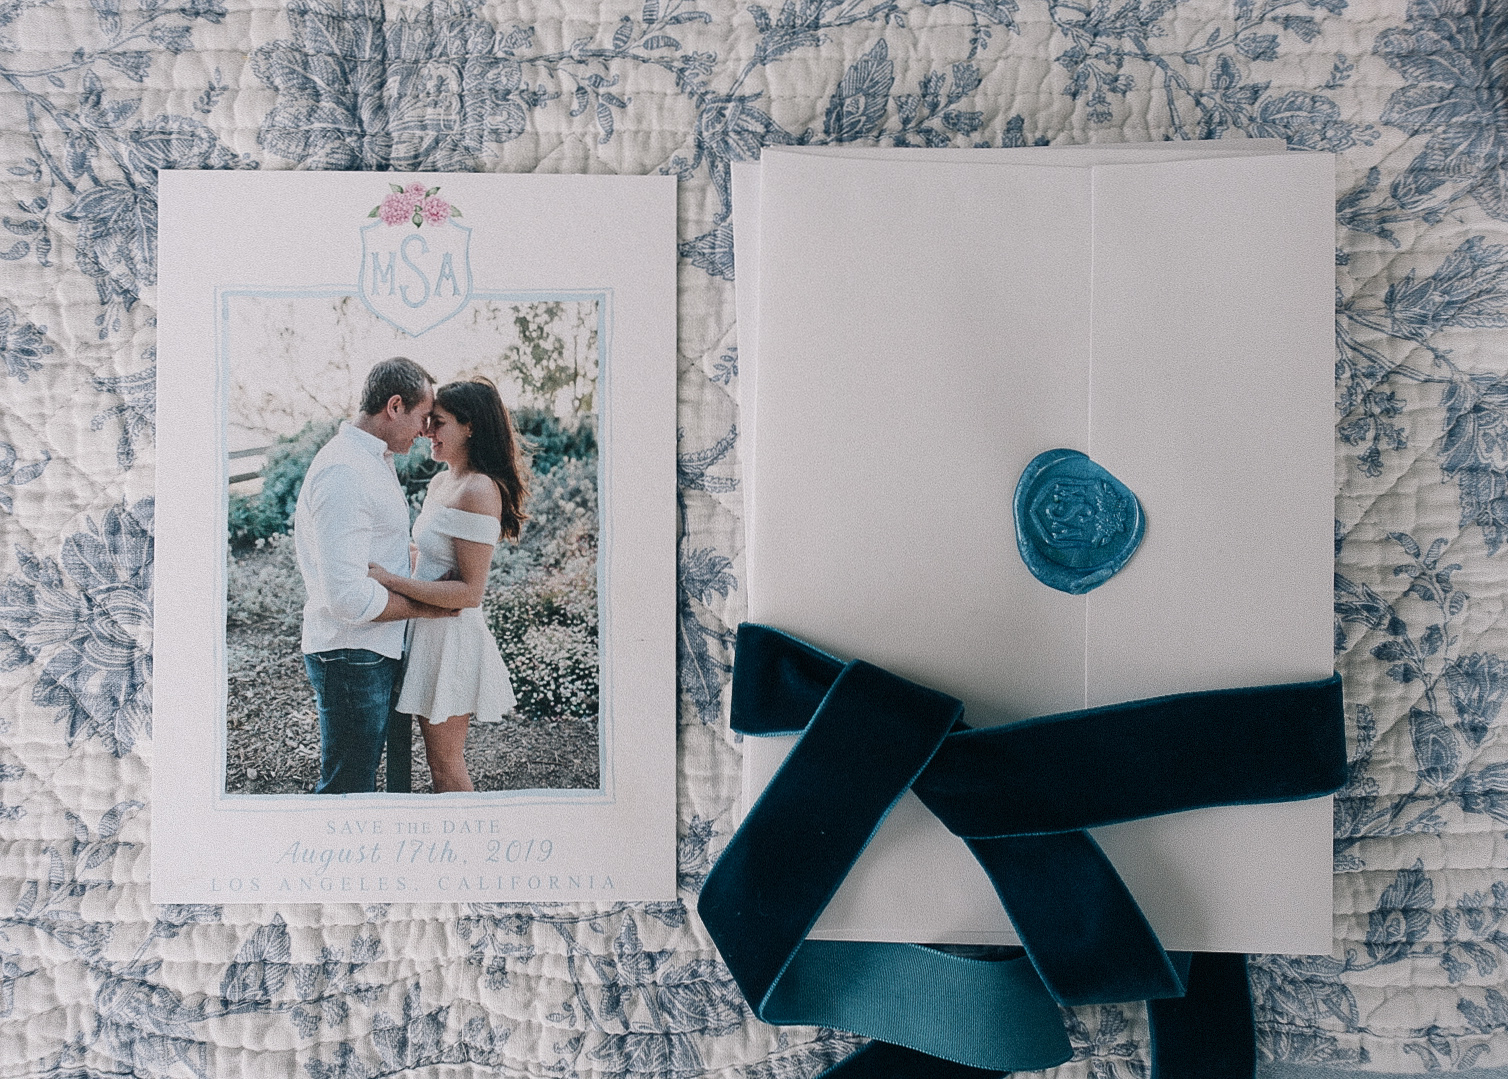
Ultimately, I decided to have a custom wedding crest created with the photo I loved so much. Of course the colors have remained blue and white, so once we had a design ready to print, Basic Invite turned my JPEG dreams into the most beautiful paper! The print options were exceptional, with every color option you could imagine, making my watercolor JPEG come to life in the most perfect shade of summer blue. When I received the custom sample we ordered, I literally gasped at how stunning it looked on the double thick matte paper we selected. We didn’t use foil for our save the date card but I loved how pretty it looked on the dark monogram with gold foil and would highly recommend using it to add a touch of glamour.
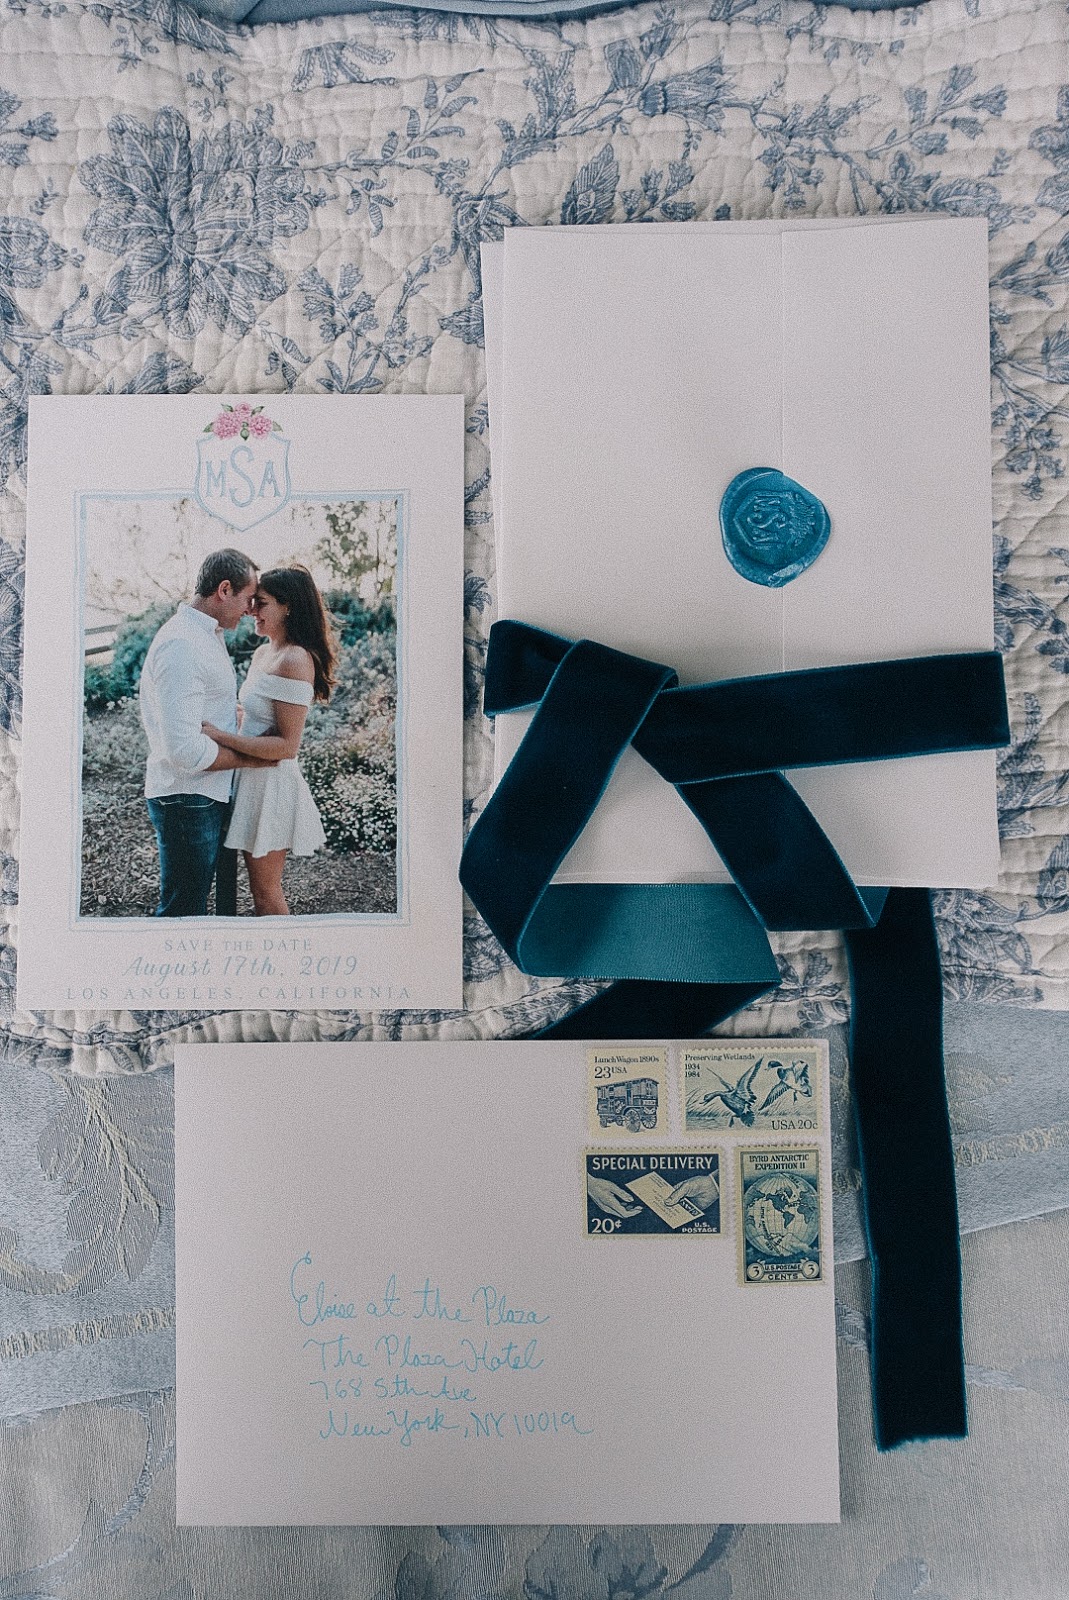
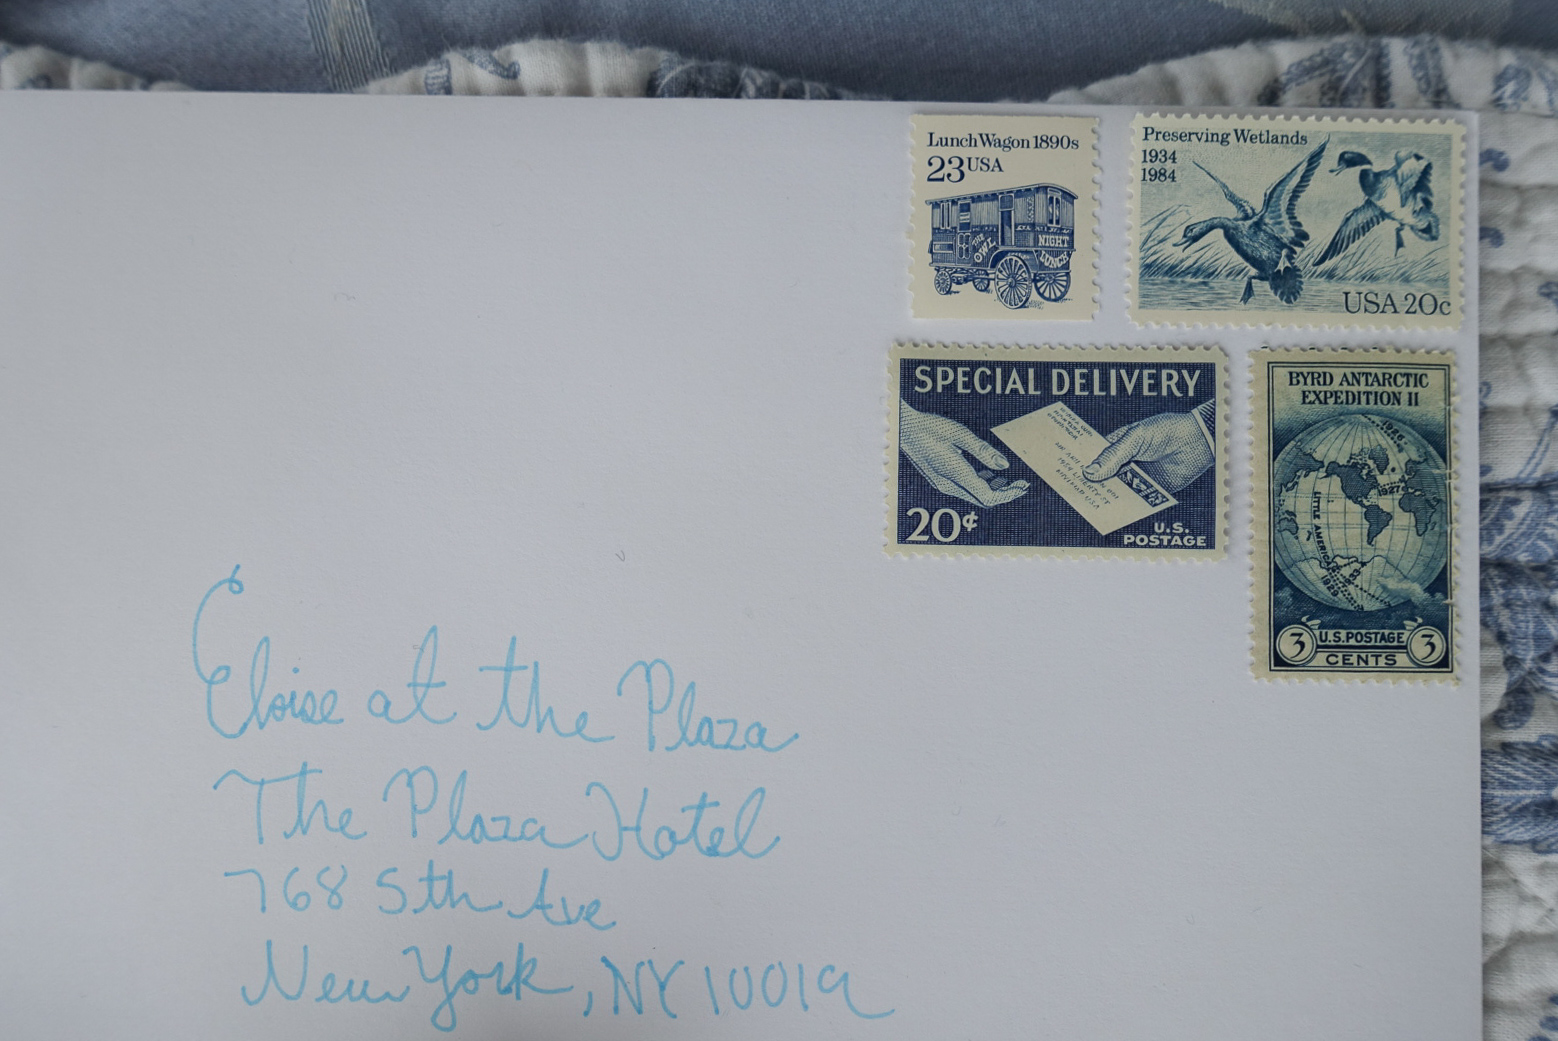
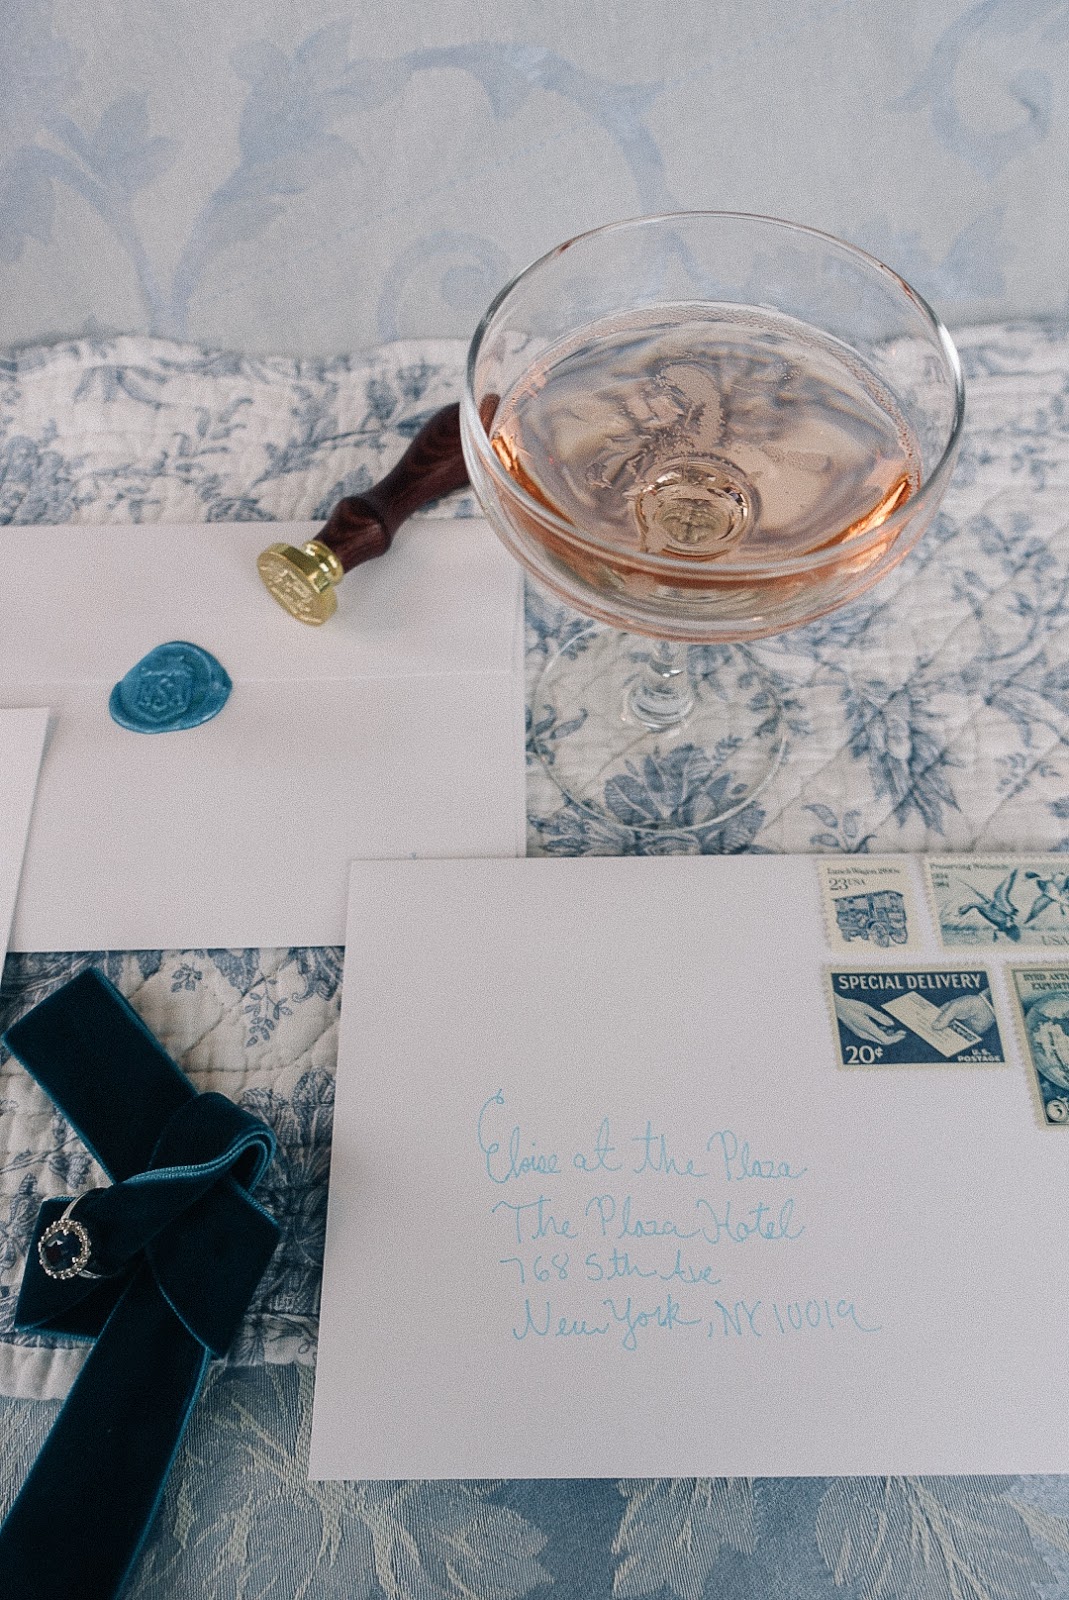
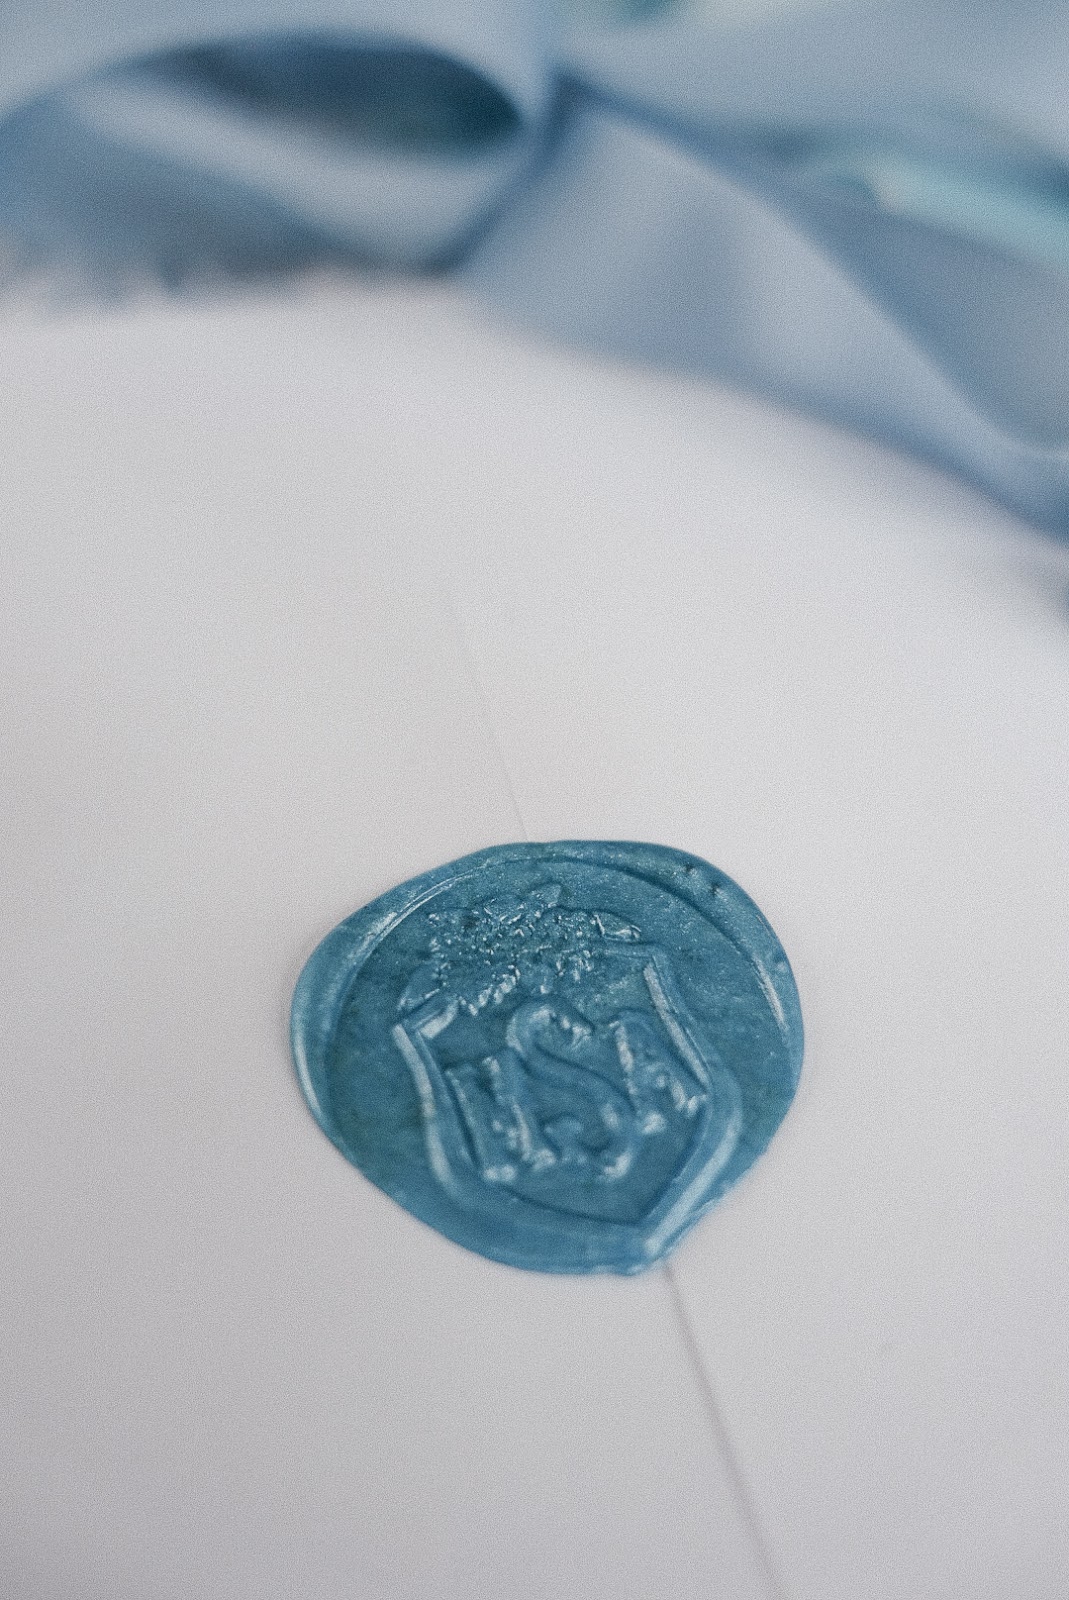
Despite the 40 envelope color options that were available to us, we decided to go with simple white envelopes. And even though Basic Invite offers a complimentary service to collect guest addresses and print them, I decided to personalize them just a tad more by addressing them by hand. At one point I had considered actually writing out my invitations but thank goodness I talked myself off that ledge given my terrible left handed chicken scratch I can barely make out myself! I also wanted white envelopes to balance out the wax seal I had so much fun using. We had a custom stamp made that replicated our wedding monogram and I am planning to use it for our invitations as well, and perhaps my future snail mail to loved ones. Who knows, friends of mine might just get invited to a boarding school in England to learn magic and drink champagne in a British accent that coincidently has the same crest as ours, just saying!
Overall, I can honestly say this process wasn’t stressful and I am extremely happy with how our lovely save the dates came out. Thank you Basic Invite for making the process so simple and helping me execute my creativity!
Overall, I can honestly say this process wasn’t stressful and I am extremely happy with how our lovely save the dates came out. Thank you Basic Invite for making the process so simple and helping me execute my creativity!
*This post was sponsored by Basic Invite

